Part one: Preparation and RAW logs retrieval using PowerShell.
Similar to Office365 case, the need for integration arose this time for Amazon Web Services (AWS).
AWS provides REST API and HP ArcSight since recent times offers REST Smart Connector. This is where the good story ends.
ArcSight REST Smart Connector requires two main configuration parameters to connect to the REST based API: REST Endpoint URL and OAuth properties file.
Unfortunately AWS does not support OpenAuth and instead Amazon S3 supports Signature Version 4, a protocol for authenticating inbound API requests to AWS services.

Thankfully Amazon developed quite extensive list of integration toolkits. This time my choice fell onto PowerShell (PSH) again mainly due to simplicity. AWS PSH Toolkit can be downloaded from this page: https://aws.amazon.com/tools/

Prerequisites for the successful installation can be found here: http://docs.aws.amazon.com/powershell/latest/userguide/pstools-getting-set-up.html
- PSH 2.0
- Windows XP or later
- Cmdlets are signed by Amazone, hence the requirement to set Set-ExecutionPolicy RemoteSigned
Additionally, to automate AWS log file download and archive extraction (wih PSH script), you will need the command line version of free 7ZIP utility.
Acquire your AWS S3 bucket credentials including:
- S3 BucketName
- AccessKey
- SecretKey
One you have them; execute the following to store the credentials on a local machine:
Set-AWSCredentials -AccessKey XXXXX -SecretKey YYYYY -StoreAs MyAWSProfile
So next time, when you invoke the script all you need to execute is:
Set-AWSCredentials -ProfileName MyAWSProfile
Test the connectivity by with the following:
Get-S3BucketLocation -BucketName MyBucket –ProfileName MyAWSProfile
The AWS S3 Bucket CloudTrail log files are represented in the following format:
UniqueName/AWSLogs/YourUniqueNumber/CloudTrail/S3BucketGeoLocation/2014/08/29/xxxyyyxxxz.json.gz
Write down YourUniqueNumberand S3BucketGeoLocationto use them in variables in the script below:
#Use the stored credentials configured previously by Set-AWSCredentials cmdlet
Set-AWSCredentials -ProfileName MyAWSProfile
#Script downloads all log files available for “TODAY”
$Today=get-date -format /yyyy/MM/d
#Replace the RED with your unique numbers
#Replace the GREEN with your bucket geolocation
#Replace BLUE with your unique name
$ConstantLogPath="ZZZZZ/AWSLogs/XXXXXXXXXXXX/CloudTrail/XXXXXXXXX"
$DynLogPath=$ConstantLogPath+$Today
#Download all files in “TODAY”’s folder into a local directory named “Logs”
#Remember to substitute the bucket name with the real one
Read-S3Object -BucketName MyBucket -KeyPrefix $DynLogPath -Folder Logs
#Auto unzip all downloaded JSONs archived in GZ format into a local folder “ExtractedLogs”
.\7za.exe x Logs\*.gz -oExtractedLogs
The script assumes that the machine is connected directly to the internet. If you are behind proxy, you will need to use Set-AWSProxy cmdlet.
You can configure this PSH script to run once a day to download a fresh set of logs.
Part two: Parsing the JSON format with ArcSight FlexConnector.
Start installing a new instance of ArcSight SmartConnector. When you reach the window where you have to select the type of connector, select “FlexConnector JSON FolderFollower:

Note: I did not find JSON FlexConnector in x64 ArcSightSmartConnector installation options. So use standard x32 installer.
Remember to specify the location of “ExtractedLogs” folder. The flex connector itself was named as aws.jsonparser.properties and placed as usual into \current\user\agent\flexagentfolder.

Register the connector and start the service.
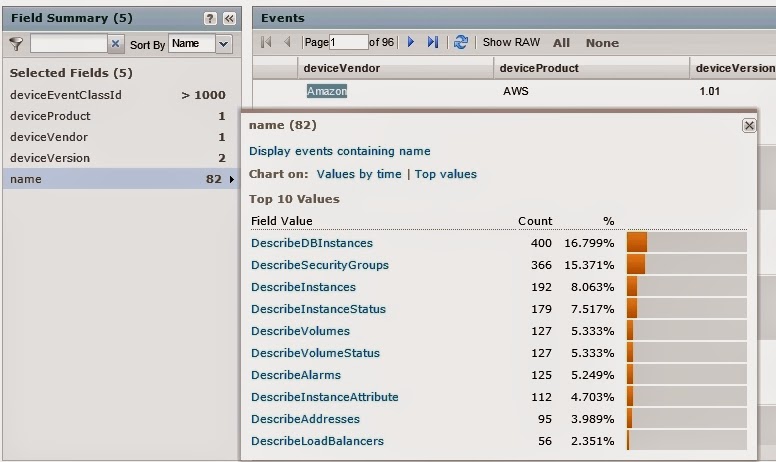
Now you can see the parsed logs.
And finally, download both PSH and FlexConnector using the link below. Remember to amend the PSH file to your needs.